blogs
Custom Element/widget : Instruction(Icon) Box for WPBakery Page Builder which supports links and html content
This custom instruction box element for WPBakery Page Builder includes a rich text area for content and an option to select an image as an icon. The element also defines a shortcode to render the instruction box on the frontend.
Installation
To add this custom element to your WPBakery Page Builder, add the following code to your theme’s functions.php file or create a custom plugin.
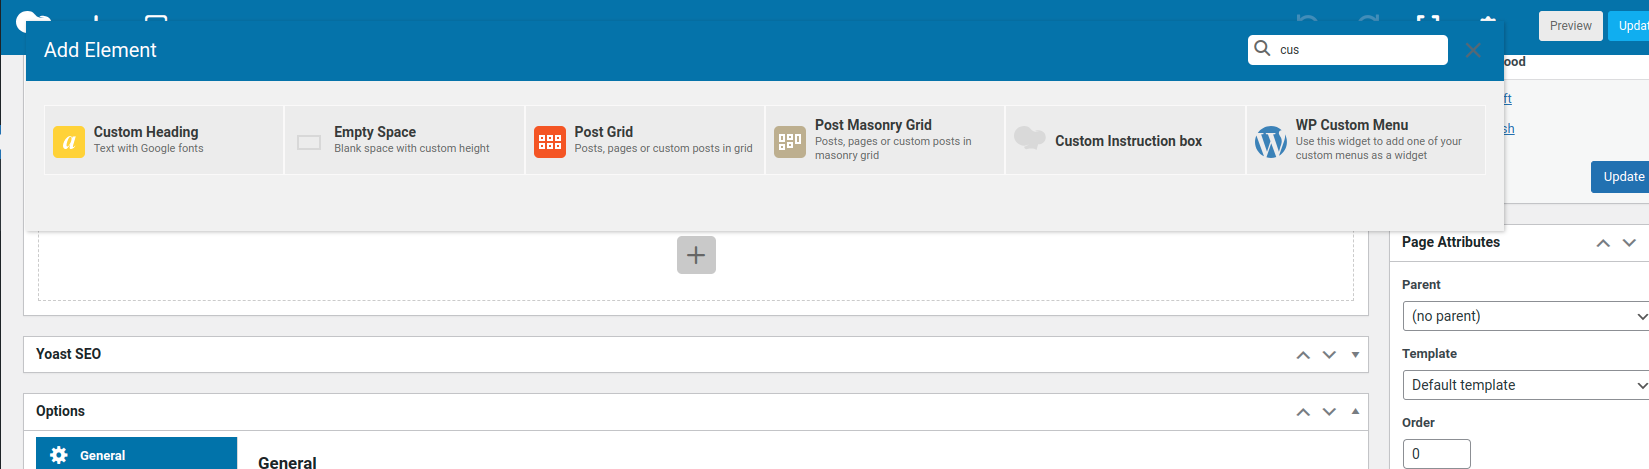
Select Element : Custom Instruction Box
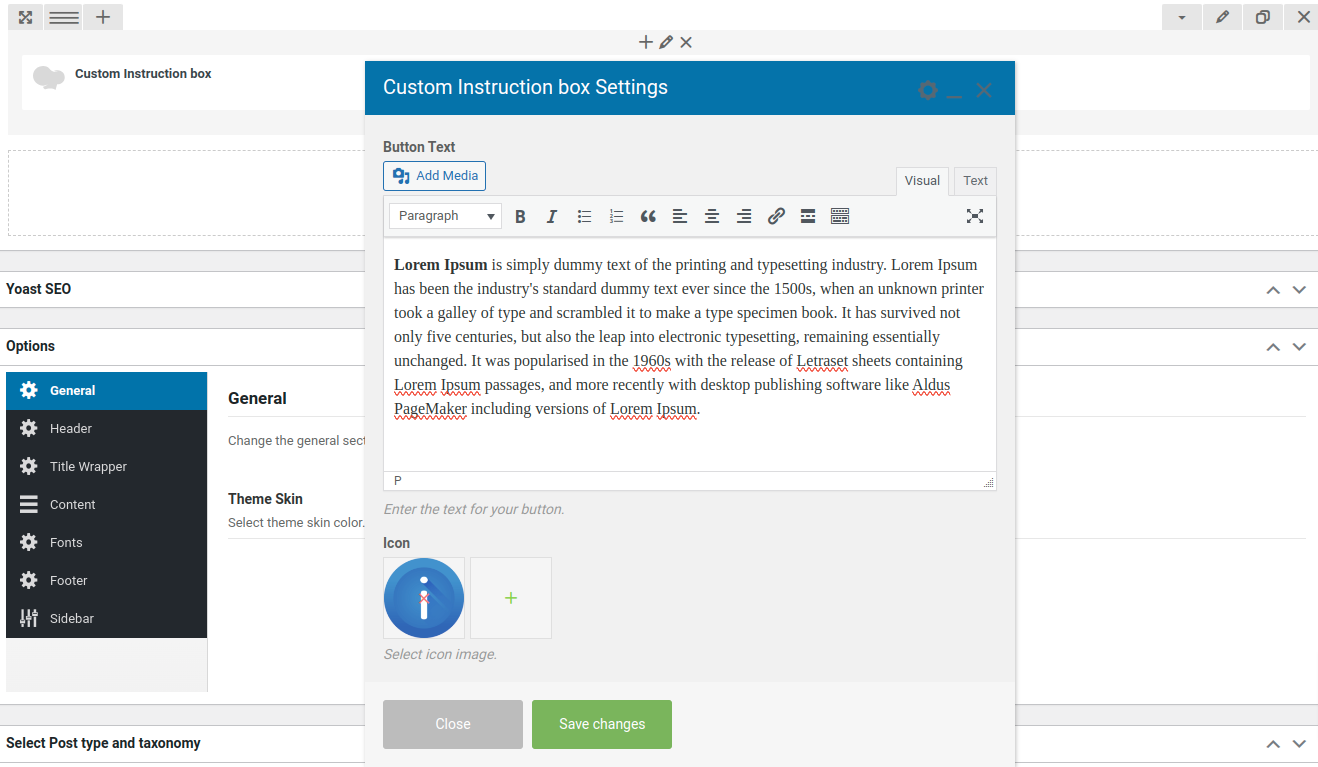
Add Content And Image
Code
/***
 * Create wp bakery - Custom INstruction Box with wp editor
 */
if (function_exists('vc_map')) {
  vc_map(array(
      "name" => "Custom Instruction box",
      "base" => "custom_instruction_element",
      "category" => "My Elements",
      "params" => array(
          array(
              "type" => "textarea_html",
              "heading" => "Text",
              "param_name" => "content",
              "value" => "",
              "description" => "Enter the text for your button.",
          ),
          array(
              'type' => 'attach_image', // Use 'attach_image' type for selecting an image
              'heading' => __('Icon', 'text-domain'),
              'param_name' => 'icon',
              'description' => __('Select icon image.', 'text-domain')
          ),
      ),
  ));
}
Using vc_map in WPBakery Page Builder
-
Purpose: Register and define custom elements (shortcodes) for WPBakery Page Builder.
-
Function:
vc_mapallows developers to:- Register custom elements with names, shortcode bases, and categories.
- Define parameters (fields) like text fields, HTML text areas, and image selectors.
- Integrate these elements into WPBakery Page Builder’s drag-and-drop interface.
Parameters (params) in vc_map
-
Definition:
paramsare essential for configuring custom elements (shortcodes) in WPBakery Page Builder (vc_map). - Types: Includes:
textfield: Simple text input field.textarea_html: Rich text editor for HTML content.attach_image: Image selector for choosing an image.
-
Usage: Allows users to customize elements by filling out these fields directly within WPBakery Page Builder.
- Example:
Define the Element’s Output
Finally, you’ll need to create the function that generates the output of your custom element based on the defined parameters. This function should be hooked into the “shortcode” filter and should return the HTML output of your element. Here’s a simplified example:
add_shortcode('custom_instruction_element', 'custom_instruction_element_output');

function custom_instruction_element_output($atts, $content = null) {
    $atts = shortcode_atts(array(
        'icon' => '',
    ), $atts, 'custom_instruction_element');

    $icon_html = '';
    if (!empty($atts['icon'])) {
        $icon_url = wp_get_attachment_image_src($atts['icon'], 'full');
        if ($icon_url) {
            $icon_html = '<img src="' . esc_url($icon_url[0]) . '" alt="" class="custom-icon" />';
        }
    }
   $output = '<div class="instruction-box">';
    if ($icon_html) {
        $output .= '<div class="instruction-icon custom_instruction_element_icon">' . $icon_html . '</div>';
    }

    $output .= '<div class="instruction-content custom-element-content">' . wp_kses_post($content) . '</div>';
    $output .= '</div>';

    return $output;
}
Frontend Result

Conclusion
Creating custom elements/widgets for WPBakery Page Builder using vc_map allows you to extend the functionality of the page builder and tailor it to your specific needs. By following the steps outlined in this article, you can register your elements and give your website a unique and customized look. Custom elements not only enhance your design capabilities but also streamline the content creation process for both you and your clients. For more detailed information, you can refer to the WPBakery Page Builder documentation on vc_map.